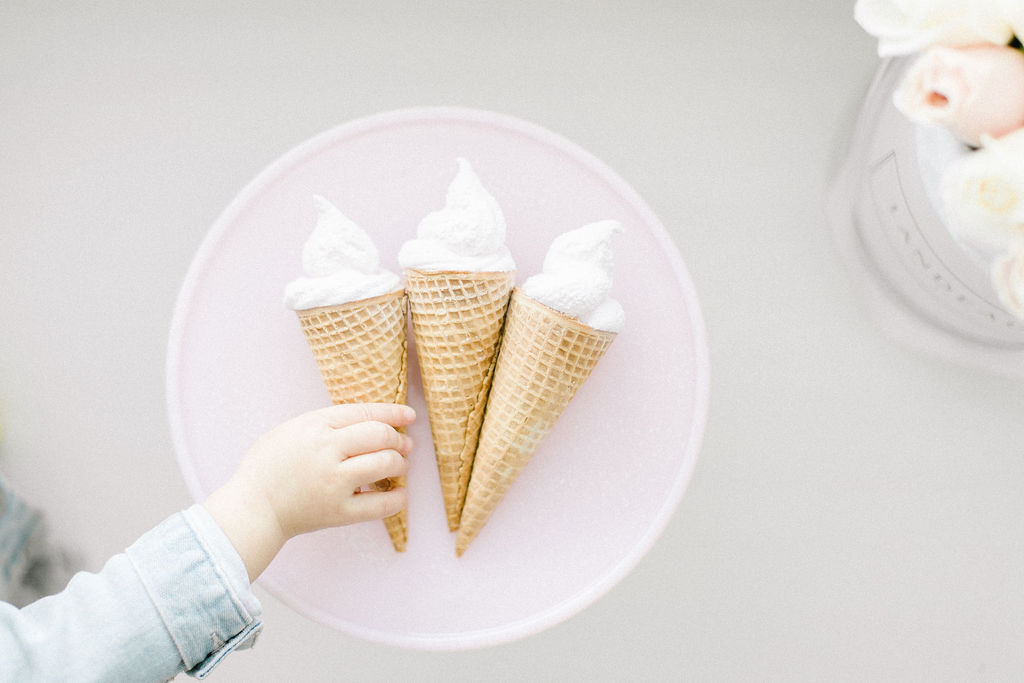
As some of you already know, I am not a huge fan of extra stuff kicking around the home and I’m trying to simplify and de-clutter our life so when it came to Aliyana’s second birthday, I didn’t want to give other parents random items in a goodie bag to take home with their kids that they might or might not want. Don’t get me wrong, Aliyana has received some amazing goodie bag in the past but it just adds to our “stuff” collection which I’m consciously trying to reduce. With that in mind, I wanted to create something that was playful yet edible. That’s when these marshmallow ice cream party favours came to mind! They were surprisingly really easy to make and taste delicious too. It took approx. 1.5 hours to make and another 30 minutes the next day to prep and package up.
This recipe has been adapted by Sprinkle Bakes. I simplified it quite a bit to make it easier and slightly less stressful for myself.
Ingredients:
this can make up to 18 sugar cones
- 5 tbs unflavoured gelatin
- 1/2 cup cold water
- 3/4 cup sugar
- 1/2 cup of corn syrup, divided into 1/4 cups
- 1/4 cup of room temperature water
- Pinch of Salt
- 1 tsp vanilla extra
- Food colouring of choice
Tools:
- Stand mixer (whisk attachment)
- Sauce pan
- Large piping bag
- Star nozzle piping tip
- 15-18 sugar cones
- Ice cream cone stand (you can also use cups but I really wanted to make sure my cones were upright the entire time)
Steps:
- Whisk together gelatin and cold water. Set aside for 5-8 minutes until gelatin absorbs all the liquid.
- In a sauce pan with a candy thermometer inserted, combine sugar, 1/4 cup corn syrup, 1/4 cup water and a pinch of salt. Place over high heat until it starts to boil.
- While the sauce pan is getting ready to boil, using a stand mixer fitted with the whisk attachment, pour the remaining 1/4 cup corn syrup into the bowl. Heat the absorbed gelatin in the microwave for 25 seconds until completely melted and pour it into the mixing bowl with the corn syrup. Turn mixer on low and keeping stirring until the heated sugar syrup is ready.
- When the syrup reaches 240F, slowly pour the hot sugar syrup into the mixing bowl. Increase the speed to medium and beat for 5 minutes. Increase speed to medium-high and beat for 5 more minutes. Finally increase to highest speed and beat for 2 minutes. Mixture should be opaque and smooth. Add food colouring at this stage and beat until incorporated.
- Immediately scoop marshmallow into a large piping bag and quickly pipe the cones. Work quickly here because the marshmallow mixture will harden fast! Swirl in a circular motion starting around the rim of the sugar cones and work your way up.
- Once you’ve filled all your cones, sift icing sugar all over the marshmallow part and set aside in ice cream stand overnight.
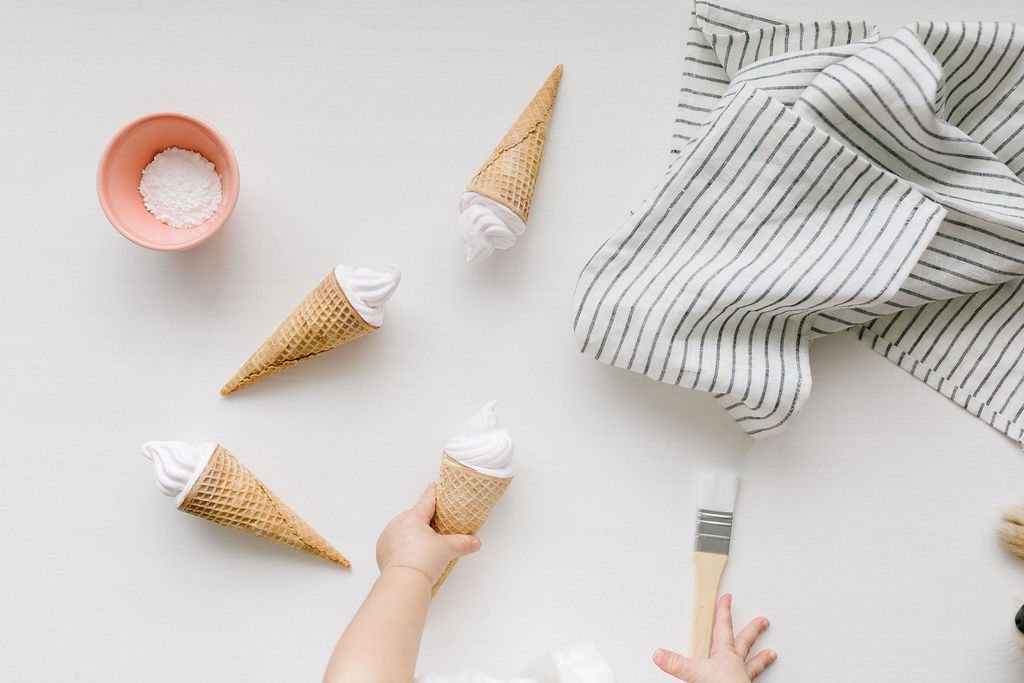
- Next day. For a more polished look, before packaging or consumption, use a small brush to brush away all access icing sugar so it doesn’t stick to the cellophane bags. I sealed each bag with a tiny piece of washi tape.
KITCHEN TIP: Work fast and have all your ingredients measured out and tools ready. I’m not kidding when I say the marshmallow hardens quickly.